
A good pressure test result shows that your cooling system maintains a steady pressure close to manufacturer specifications without drops or fluctuations. You should see no leaks or puddles, and the coolant stays clean and bubble-free. The radiator cap holds pressure securely, and the gauge stays consistent over time. If your system meets these criteria, it indicates it’s sealed and functioning properly. Keep exploring to learn how to interpret detailed pressure readings and pinpoint potential issues.
Key Takeaways
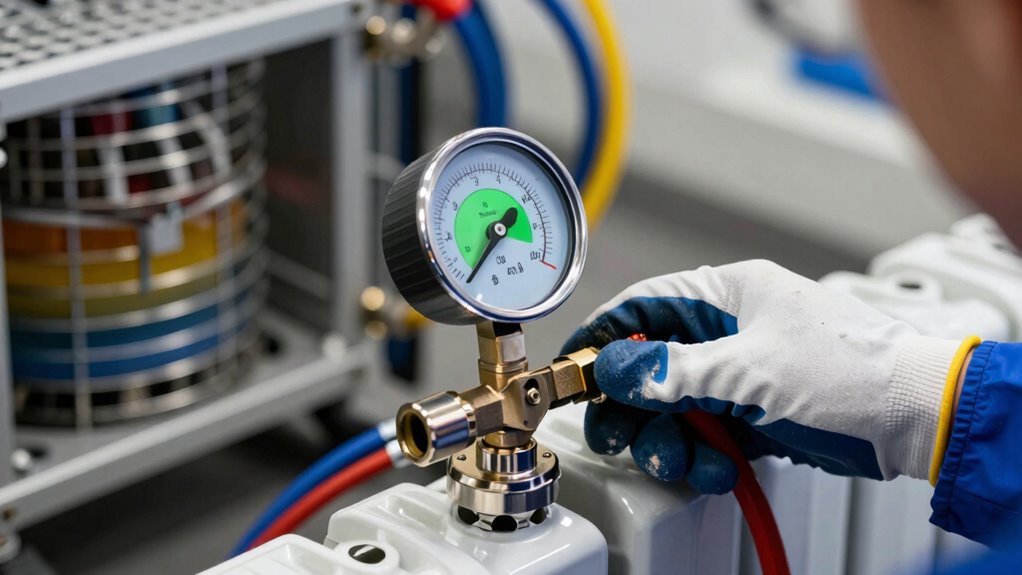
- The pressure gauge maintains steady, consistent readings within the manufacturer’s specified range during the test.
- No leaks, puddles, or coolant drips are evident under the vehicle or around hoses and fittings.
- The coolant remains clean, free of discoloration, bubbles, or foam, indicating proper system condition.
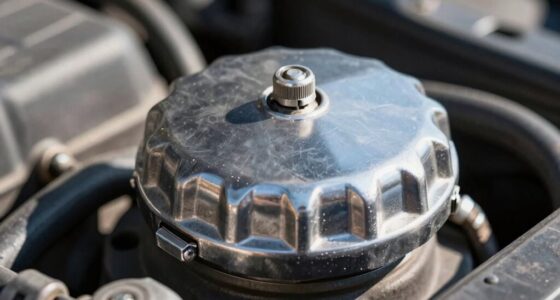
- The radiator cap holds pressure securely without releasing coolant or hissing during the test period.
- The system’s pressure remains stable over time, with no sudden drops or fluctuations indicating leaks or weaknesses.

Orion Motor Tech Coolant Pressure Tester Kit, 33pc Master Coolant Vacuum Refill Kit with 23 Radiator Adapters, Radiator Cooling System Pressure Tester Kit with Vacuum Pump Vacuum Purge & Refill Tool
Comprehensive Tool Set: Orion Motor Tech's 33 pcs coolant pressure tester kit includes 22 adapters, a universal adapter,…
As an affiliate, we earn on qualifying purchases.
As an affiliate, we earn on qualifying purchases.
What Is Pressure Testing in Your Cooling System?
Pressure testing in your cooling system involves checking for leaks and ensuring it can handle the operating pressure. To do this effectively, you need to understand coolant chemistry, as the type of coolant impacts corrosion and sealing properties. Proper coolant chemistry helps maintain system integrity during testing. You’ll also rely on a pressure gauge, which must be calibrated correctly to provide accurate readings. If the gauge isn’t calibrated, you risk misjudging the system’s pressure limits or missing leaks altogether. During the test, you’ll pressurize the system and monitor the gauge closely. This process confirms that the cooling system can withstand normal operating conditions without leaks or weak spots, ensuring reliable performance and preventing potential overheating or damage. Additionally, understanding coolant chemistry can help you select the right additives to protect your system during testing.

CXPRO 32pcs Universal Radiator Pressure Tester Kit, Tester Pneumatic Vacuum Cooling System Purge Refill Leak/Refiller Set, Universal Automotive Domestic/Import Vehicles, Motorcycle
【TROUBLESHOOTING & SAVING MONEY】32pcs universal radiator pressure tester and vacuum refill kit with functions of leak detection, temperature…
As an affiliate, we earn on qualifying purchases.
As an affiliate, we earn on qualifying purchases.
Why Is Pressure Testing Important for Your Engine?
Knowing the condition of your cooling system is essential for preventing engine overheating and costly repairs. Pressure testing helps identify leaks and weak spots before they cause serious damage. Properly evaluating your system relies on accurate pressure gauge calibration, ensuring your readings reflect true pressure levels. Maintaining correct coolant chemistry is also crucial; incorrect coolant can lead to corrosion or buildup that compromises system integrity. If your pressure test reveals a drop in pressure, it indicates potential leaks or failing components that need attention. Regular pressure testing allows you to catch issues early, saving you money and preventing breakdowns. Ensuring your pressure testing equipment is properly calibrated is vital for obtaining reliable results. Using appropriate measurement tools designed for industrial applications enhances the accuracy of your assessments. Additionally, verifying that your system is free from contaminants can improve testing accuracy and prolong component lifespan. Proper coolant chemistry maintenance and regular testing help in maintaining the overall health of your cooling system. By ensuring your cooling system is sealed and functioning properly, you keep your engine running efficiently and extend its lifespan.

ZJERYL GULL 18pcs Cooling System Pressure Tester kit Automotive Radiator Pressure Tester for Motorcycle Car Truck
MULTIFUNCTION: The 18 pcs radiator pressure tester kit allows detecting for leakage in radiator system, especially head gasket…
As an affiliate, we earn on qualifying purchases.
As an affiliate, we earn on qualifying purchases.
How to Prepare Your Vehicle for a Pressure Test
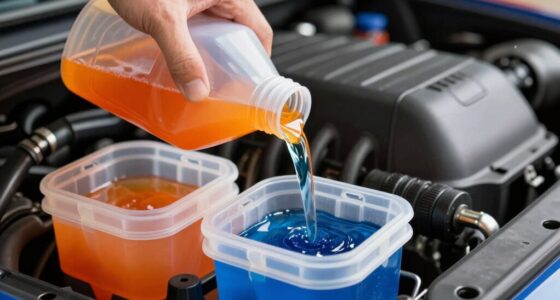
Before you start the pressure test, make sure to check your coolant levels and top them off if needed. Inspect your system carefully for any leaks or damage that could affect the results. Finally, verify the cooling system is properly purged of air to get an accurate reading during the test. Additionally, reviewing must-see destinations and travel tips can provide a helpful mental break during vehicle maintenance. Ensuring your cooling system includes proper maintenance routines and monitoring for microplastics in dust can help prevent issues and extend the lifespan of your vehicle’s components. Regularly inspecting coolant hoses and connections contributes to a reliable and efficient cooling system, and paying attention to pressure testing standards ensures accurate and safe results.
Check Coolant Levels
Ensuring the coolant levels are correct is a crucial first step before performing a pressure test. Start by checking the reservoir and radiator, adding coolant if necessary. Make sure the coolant isn’t contaminated; dirty or rusty fluid can affect test results and indicate underlying issues. Proper coolant levels help maintain consistent pressure during testing. Also, verify that your pressure gauge is properly calibrated to avoid inaccurate readings. An uncalibrated gauge could mislead you into thinking there’s a leak or that the system is holding pressure correctly. To further ensure safety and accuracy, familiarize yourself with early warning signs for potential cooling system problems, which can help identify issues before performing tests. Being aware of cooling system pressure specifications is essential for interpreting test results correctly. Additionally, understanding how pressure testing procedures work can help you perform the test more effectively. When preparing for the pressure test, ensure all coolant hoses and connections are secure to prevent false readings. Regularly inspecting coolant system components can also help catch issues early and prevent costly repairs. Once your coolant levels are topped off and uncontaminated, and the gauge is calibrated, you’re ready to proceed with the pressure test, ensuring reliable results and safe operation of your cooling system.
Inspect for Leaks
To properly prepare your vehicle for a pressure test, you need to carefully inspect the cooling system for any existing leaks. Look for signs of coolant contamination around hoses, the radiator, and the water pump, as these can indicate leaks or corrosion. Check for wet spots or crusty residue, which suggest leaks that could compromise testing results. Use your pressure testing equipment to pressurize the system gently, but don’t overlook the importance of a thorough visual inspection beforehand. Detecting leaks early prevents inaccurate pressure readings and helps avoid potential engine damage. Address any leaks before proceeding with the test, ensuring that the cooling system is sealed and ready for accurate pressure evaluation. This step is essential for reliable results and long-term system health. Always verify that the cooling system is properly sealed, as even small leaks can lead to misleading test outcomes and future issues. Ensuring the system’s integrity is maintained will improve the accuracy of your pressure test and prolong the lifespan of your vehicle’s components. Additionally, understanding the pressure testing procedures can help you identify issues more precisely during inspection. Recognizing the importance of proper maintenance can also contribute to the overall durability of your vehicle’s cooling system. Performing regular system checks can help catch potential problems early and maintain optimal performance.
Ensure System Purge
After inspecting the cooling system for leaks, the next step is to verify the system is properly purged of air. Air pockets can lead to inaccurate pressure readings, so ensure all coolant passages are filled and free of air. Before pressurizing, check that your pressure gauge is correctly calibrated for precise results. If coolant contamination is present, drain and replace the coolant to prevent interference with the test. Carefully bleed the system according to your vehicle’s specifications, removing trapped air through the designated vents or bleed ports. Proper purging ensures the pressure test reflects the true condition of the cooling system and avoids false leak indications. Additionally, understanding regional coolant formulations can help ensure compatibility and optimal performance during the test. Once purged, you’re ready to proceed with the pressure test confidently, knowing your system is properly prepared.

Vansky Air Conditioner Leak Detector: Professional Car Tool 68 LED Automotive AC UV Dye Leak Detection Kit with Protective Glasses
Professional AC Leak Detection: Designed specifically for detecting automotive air conditioner leak, Vansky AC leak detector flashlight incorporates…
As an affiliate, we earn on qualifying purchases.
As an affiliate, we earn on qualifying purchases.
How to Perform a Proper Pressure Test

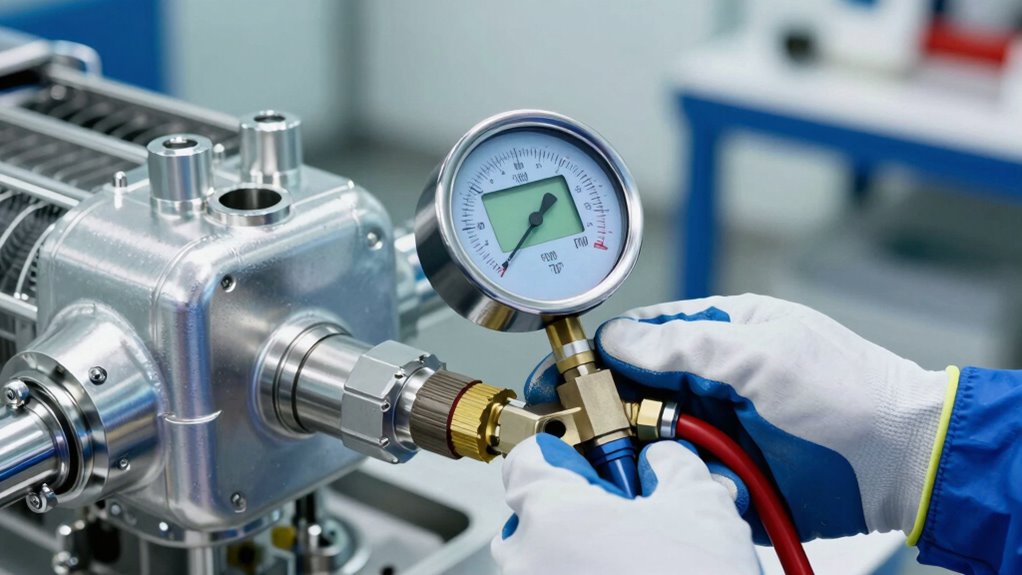
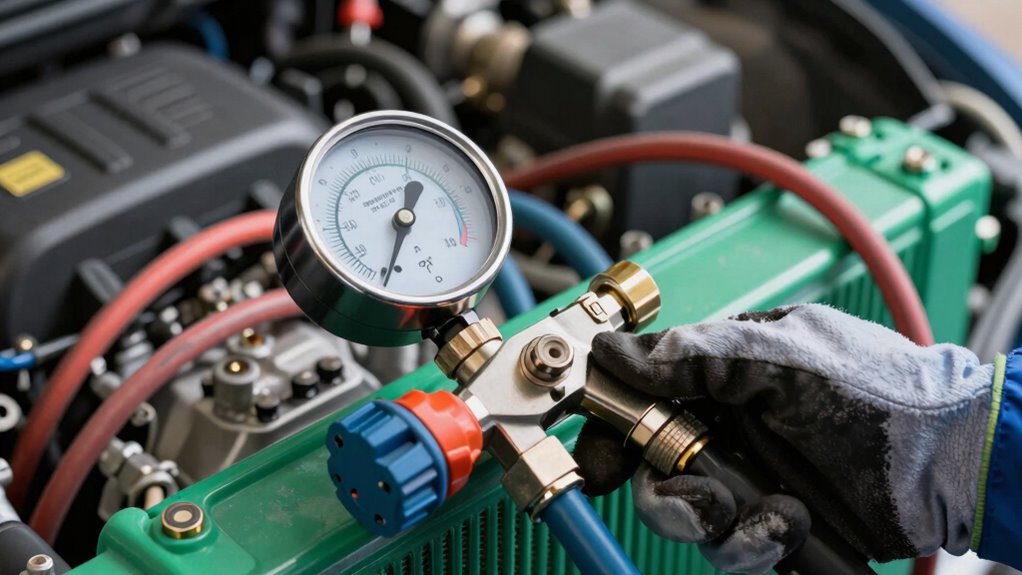
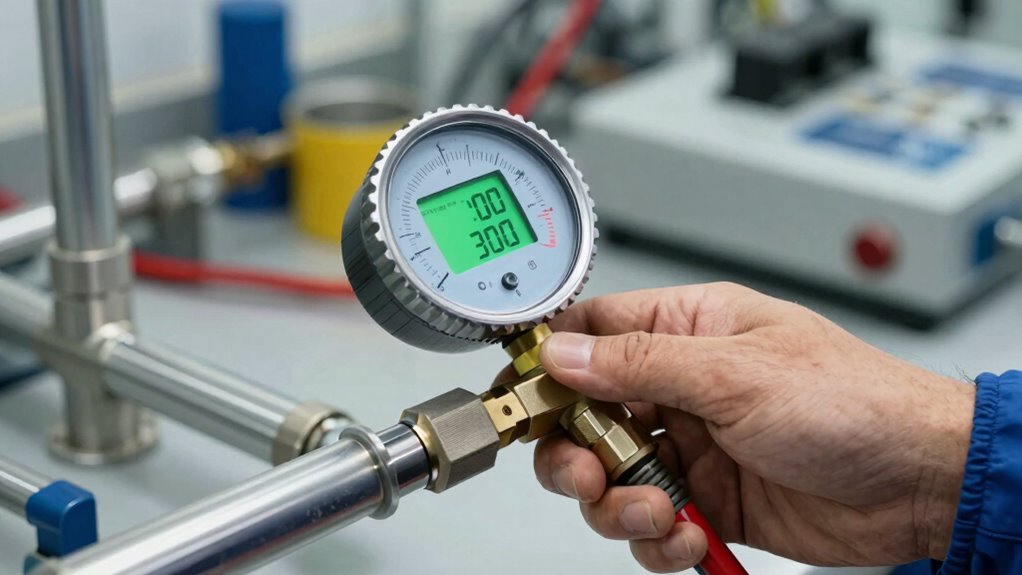
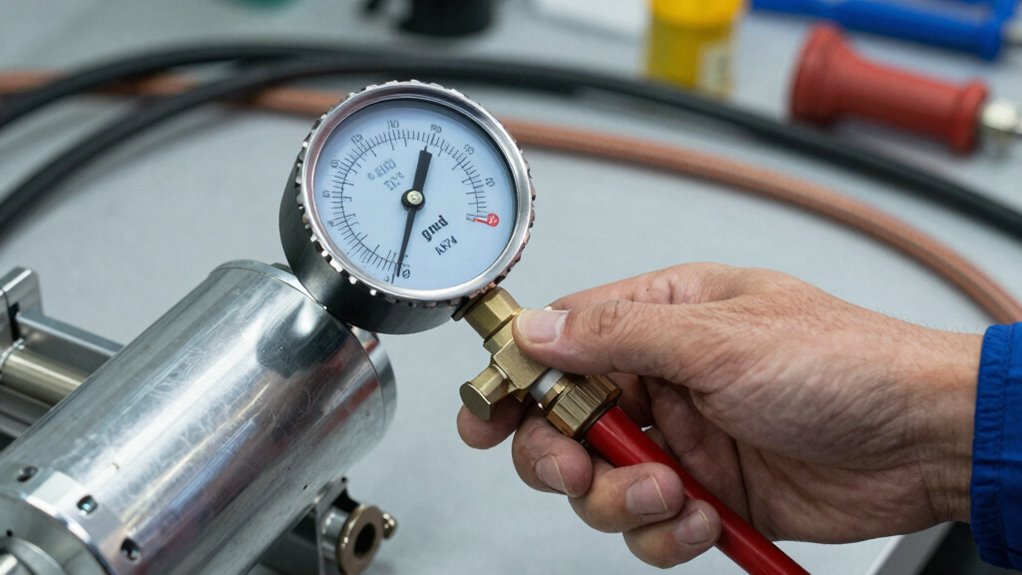
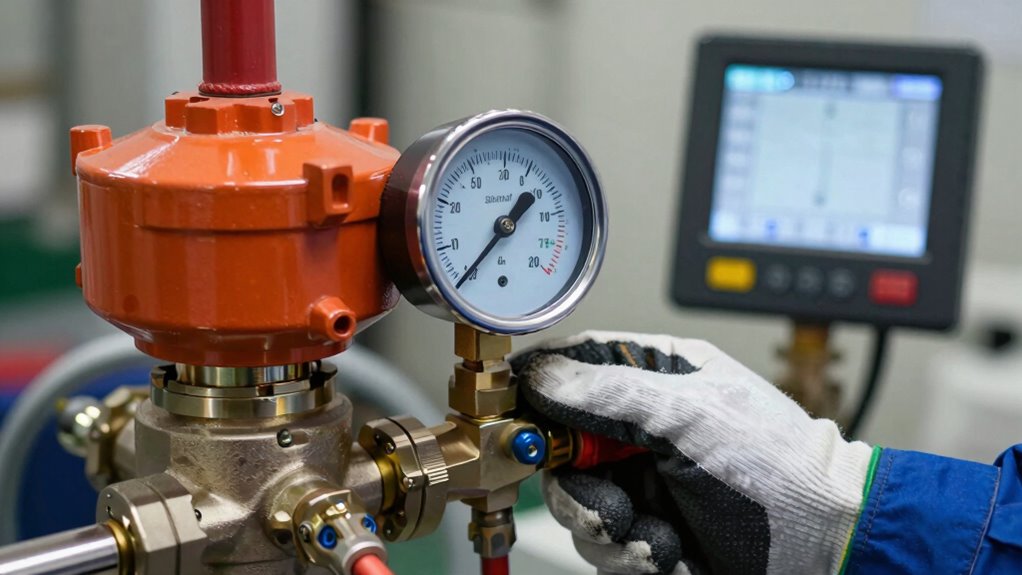
Performing a proper pressure test is essential to identify leaks and guarantee your cooling system operates correctly. Begin by ensuring the engine is cool to prevent injury and inaccurate readings. Attach a pressure gauge to the radiator cap or test port, making sure it’s secure. Fill the cooling system with the appropriate coolant mixture, then pressurize the system using a pressure pump or the radiator cap tool. Pump air into the system gradually, watching the pressure gauge closely. Maintain the pressure at the manufacturer’s recommended level, usually specified on the radiator or in the vehicle manual. Hold the pressure steady for about 10-15 minutes, observing the gauge for any drops. A stable pressure indicates no leaks; a drop suggests a leak needs further inspection. Proper testing procedures ensure accurate results and help prevent potential engine damage. Additionally, understanding the pressure levels recommended by the manufacturer can improve the reliability of your test. Being aware of piercings and jewelry materials can also prevent accidental damage during testing, especially if you have body jewelry installed. To enhance safety, consider the essential oils for respiratory health in case of accidental inhalation or exposure, which can support your well-being during the process. Incorporating safety precautions into your testing routine can further reduce risks and promote a safer environment.
How to Recognize a Healthy Cooling System During Testing
During testing, you should notice the pressure remains steady without sudden drops, indicating your cooling system is healthy. Keep an eye out for any signs of leaks, such as puddles or drips, which suggest issues. When the pressure stays stable and no leaks appear, your cooling system is functioning properly.
Stable Pressure Levels
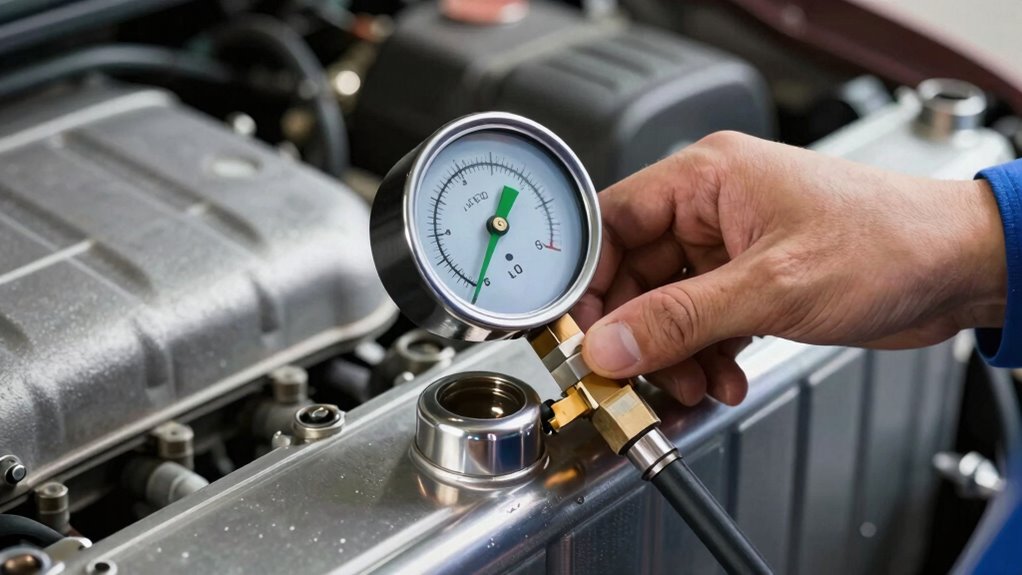
A steady pressure level is a key indicator of a healthy cooling system during testing. When you monitor the pressure gauge, look for consistent readings over time. Fluctuations can suggest leaks or weak seals, while stable pressure indicates that the system is sealed properly and functioning as intended. During the test, note how the pressure holds without sudden drops or spikes. A well-maintained cooling system should maintain nearly the same pressure throughout the test duration. If the pressure remains stable, it’s a good sign that the system isn’t losing coolant or experiencing leaks. Keep an eye on the gauge, and remember that consistency in pressure levels demonstrates the integrity of your cooling system.
No Leak Signs
How can you tell if your cooling system is healthy and free of leaks? During pressure testing, look for signs of no leaks, indicating a properly sealed system. First, the coolant should maintain its color—usually green, orange, or pink—without discoloration or bubbles. Second, check the radiator cap; if it holds pressure without releasing coolant or creating hissing sounds, it’s a good sign. Third, observe the entire system for any drips or puddles under the vehicle. Fourth, the pressure gauge should stay steady, without sudden drops. These signs suggest your cooling system isn’t leaking and is functioning correctly, ensuring ideal performance and preventing overheating issues.
What Are Signs of Pressure Loss or Failures?
Have you noticed a drop in system pressure or inconsistent cooling performance? These are clear signs of pressure loss in your cooling system. You might see the temperature gauge fluctuate or notice the heater isn’t working as effectively as before. Reduced pressure can lead to overheating or engine misfires, signaling that something isn’t sealing properly or that there’s a leak. Another sign is if the radiator cap or hoses feel unusually hot or soft to the touch. A sudden drop in pressure during testing indicates a failure or leak somewhere in the circuit. Ignoring these signs can cause severe engine damage over time. Regular pressure testing helps catch issues early, ensuring your cooling system maintains suitable pressure and keeps your engine running smoothly.
Common Causes of Pressure Drop and What They Mean
Pressure drops in your cooling system can stem from several common issues that compromise its integrity. One major cause is a leak, which reduces pressure and indicates a loss of coolant or a compromised radiator. Poor radiator efficiency can also contribute, often caused by clogs or corrosion impairing heat transfer. Additionally, coolant compatibility problems, such as using the wrong type or contaminated fluid, can lead to system inefficiencies and pressure loss. finally, worn or damaged hoses and fittings may develop small cracks or leaks, further dropping pressure. Be attentive to these issues, as they can signal underlying problems that affect overall cooling performance. Regular inspections and proper coolant choices help maintain ideal radiator efficiency and prevent unnecessary pressure drops.
What Is a Good Pressure Reading?

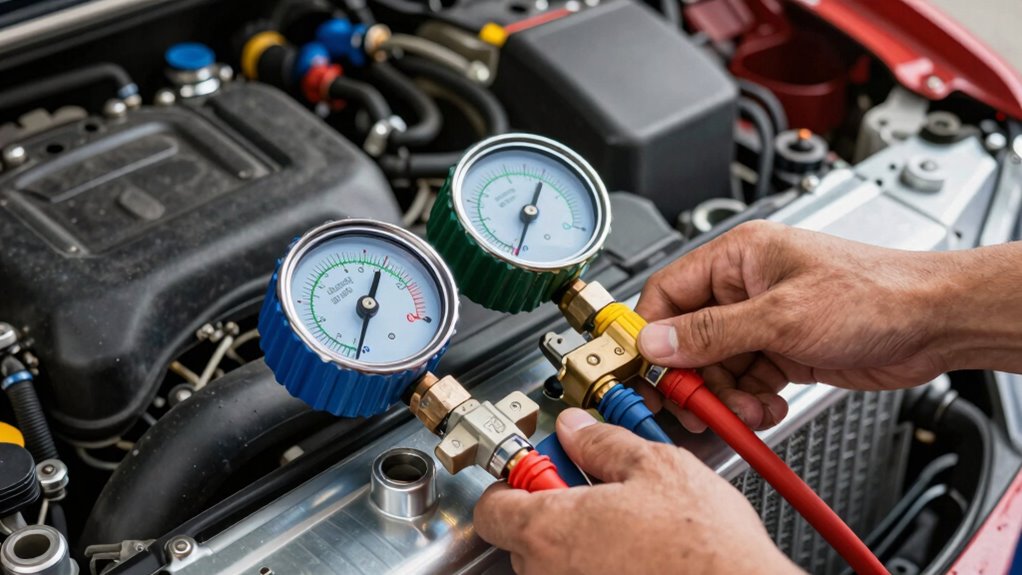
A good pressure reading typically falls within the vehicle manufacturer’s recommended range, which is usually between 15 and 20 psi when the engine is cool. Keep in mind that slight variations can occur depending on the engine’s temperature and testing conditions. Knowing what to look for helps you determine if your cooling system is operating properly or if further inspection is needed.
Ideal Pressure Range
Wondering what a good pressure reading looks like during a cooling system test? Generally, a healthy system maintains pressure within a specific ideal range, typically between 13 to 16 psi when cold. Several factors influence this range, including coolant composition, which affects fluid expansion and pressure stability. To guarantee accurate readings, verify that your pressure gauge is properly calibrated. A reading outside this range might indicate leaks or inadequate coolant levels. Keep in mind:
- Coolant mixture ratios can alter pressure response
- Proper pressure gauge calibration ensures reliable results
- Temperatures can slightly influence pressure readings
- Consistency within the specified range indicates system health
Variations in Readings
While maintaining the ideal pressure range is important, understanding how to interpret variations in readings can help you assess your cooling system’s health more accurately. Small pressure fluctuations are normal, especially as the system heats up or cools down, but significant or steady changes might indicate issues like leaks or blockages. Keep in mind that gauge accuracy plays a *vital* role—if your gauge isn’t calibrated or functioning properly, readings can be misleading. Always observe whether pressure changes are consistent with engine temperature changes and check for erratic fluctuations. Monitoring these variations helps you distinguish between normal behavior and potential problems, ensuring you can address issues early and avoid costly repairs. Remember, a good pressure reading isn’t just a number; it’s about understanding what the fluctuations mean.
Troubleshooting Pressure Test Issues and Failures

Troubleshooting pressure test issues requires careful diagnosis to identify the root cause of failures. If your pressure test isn’t holding, consider factors like coolant composition, which can affect seal integrity, or faulty pressure testing tools that give inaccurate readings. Common issues include leaks, incorrect pressure levels, or equipment malfunctions. To pinpoint problems, examine:
- Leaks around hoses, fittings, or the radiator
- Variations in pressure readings due to faulty gauges
- Compatibility of coolant with system components
- Proper calibration and maintenance of pressure testing tools
Always verify your coolant mixture is appropriate to prevent corrosion or seal damage. Regularly inspect your testing equipment for accuracy. Accurate diagnosis helps you determine whether the failure stems from system issues or testing inaccuracies, saving time and preventing further damage.
How Regular Pressure Testing Prevents Overheating
Regular pressure testing plays a crucial role in preventing overheating by guaranteeing your cooling system remains sealed and functioning properly. When the system maintains proper pressure, cooling efficiency stays high, allowing the coolant to circulate effectively and dissipate heat. Detecting leaks early through regular tests prevents coolant loss, which could otherwise lead to hotspots and engine damage. Additionally, consistent pressure testing helps identify weak spots or corrosion that could compromise system durability over time. By catching issues before they escalate, you reduce the risk of overheating and costly repairs. Maintaining ideal pressure levels ensures your cooling system operates at peak performance, extending its lifespan. Regular testing keeps your engine running cooler, more reliably, and helps avoid unexpected breakdowns caused by overheating.
Frequently Asked Questions
How Often Should I Perform a Cooling System Pressure Test?
You should perform a cooling system pressure test annually as part of your maintenance schedule. Regular testing helps catch leaks or pressure drops early. Use diagnostic techniques to identify issues before they worsen. If you notice overheating or coolant loss, increase testing frequency. Staying proactive with these tests guarantees your cooling system remains reliable, preventing costly repairs and keeping your engine running smoothly.
Can a Pressure Test Detect All Cooling System Leaks?
Imagine your cooling system as a delicate web, where tiny leaks hide like shadows. A pressure test can reveal many leaks, but not all—especially if coolant contamination affects the system or if your pressure gauge isn’t properly calibrated. Small leaks might slip past, masked by contamination or gauge inaccuracies. That’s why combining pressure testing with visual inspections and ensuring your gauge’s accuracy gives you the best chance to find every leak.
What Tools Are Necessary for an Accurate Pressure Test?
You need a high-quality pressure gauge calibrated accurately to guarantee precise readings during the test. A radiator cap or a specialized pressure testing kit is essential to build and hold pressure. Check your coolant composition beforehand, as it affects pressure stability. Make sure the tools are clean and in good condition, and verify the pressure gauge calibration before testing to avoid false readings and ensure reliable results.
How Long Should a Typical Pressure Test Last?
A stitch in time saves nine, so don’t rush your cooling system pressure testing. Typically, you should hold the pressure for about 10 to 15 minutes to make certain it’s stable. This duration allows you to spot leaks or drops in pressure, indicating potential issues. Keep an eye on the pressure gauge during this time, making sure it stays steady before concluding your cooling system is in good shape.
Are There Safety Precautions to Consider During Pressure Testing?
Yes, you should wear safety gear like gloves and goggles to protect yourself during pressure testing. Make sure the area is well-ventilated to avoid inhaling any fumes or leaks. Always follow safety precautions, such as checking equipment for damage and never exceeding recommended pressure limits. These steps help prevent accidents and ensure a safe testing process. Stay alert and prioritize safety at all times during testing.
Conclusion
A proper pressure test is your cooling system’s health check-up, revealing leaks and weaknesses before they turn into costly repairs. Think of it as giving your engine a clear window into its well-being, helping you catch problems early. When you see the pressure holding steady, you’re keeping your engine happy and cool, like a well-oiled machine gliding smoothly down the road. Regular testing keeps your engine running cool and trouble-free, no matter the journey ahead.